|
|
| Home-->F1 Rocket Project-->Fuselage Page 10 |
|
SITE CONTENTS
Please send your comments and suggestions to: Copyright
© 2008 by |
Links
on this page: Electric Seat Heaters |
|
|
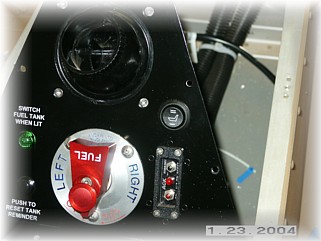
It gets pretty cold in the winter in the Midwest and the heat muffs are only adequate down to around 20 degrees. So I decided to install some electric seat heaters in my seat cushions to help. I ordered two sets of heaters and they came with three relays, two switches, and a wiring harness. I kind of underestimated the amount of wiring needed to install these. As a result, I have to wires these up outside of my normal fore and aft wiring looms because I don't have enough room in them for these harnesses. The first step is to locate a place for the switches. I opted to locate the pilot's switch on my lower front panel. This meant that I would have to run my own wiring harness since the one provided will not reach back to the relays. The switch for the passenger seat will be located on the center console between the passenger's legs. It has been dismantled at this point so I can finish the install.
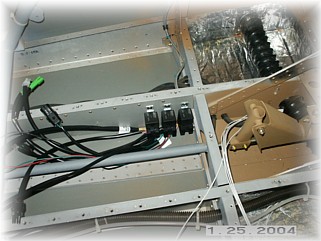
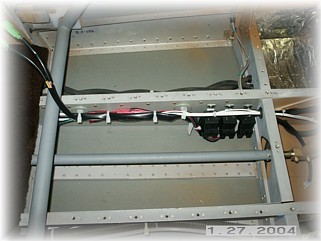
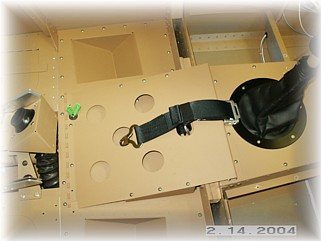
Next, I had to find a suitable place to locate the three relays. I needed a place that was accessible and since the forward removable bays are already full of stuff, I opted for the rear center tunnel. There is plenty of room in here to allow for full control movement. To make the wiring simpler, I cut off the connectors and soldered the wires together. That made for a thinner wire bundle. Since the relays come apart from the wiring harness, I can still dismantle the system to fix a problem.
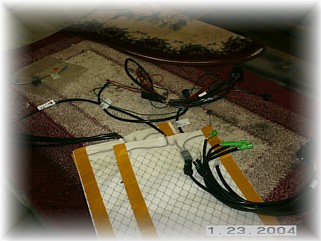
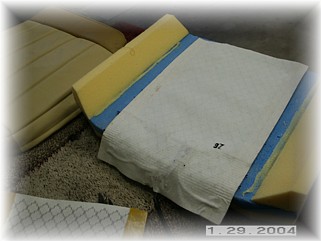
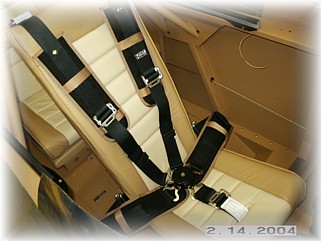
The next part really hurt. I had to dismantle the beautiful seat cushions from DJ in order to install the heat pads. The key to getting a good looking seat cushion in leather is to have a real tight fit, and these pads were really stuffed in there. I did manage to install the pads using some 3M glue and go the cushions back together. The wire bundle sticks out the end of the zipper in the bottom of the cushions.
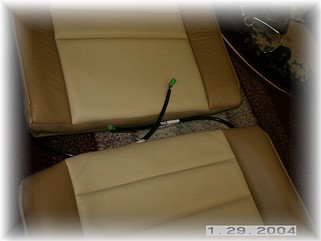
I drilled a hole for a grommet for the outlet fittings to the cushions. They will sit on top of the wires, hiding them from view. Here's what the back seat looks like fully assembled.
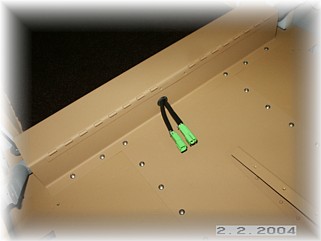
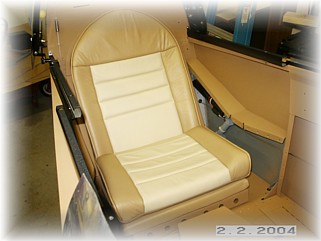
For the front seats, the grommet is just at the base of the seat back, in the floor. Here is what the front seats look like fully assembled. That completes all of the assembly that will be covered under the fuselage section/ |
||
|
"The greater danger for most of us lies not in setting our aim too
high, but in setting our aim too low, and achieving our mark." |